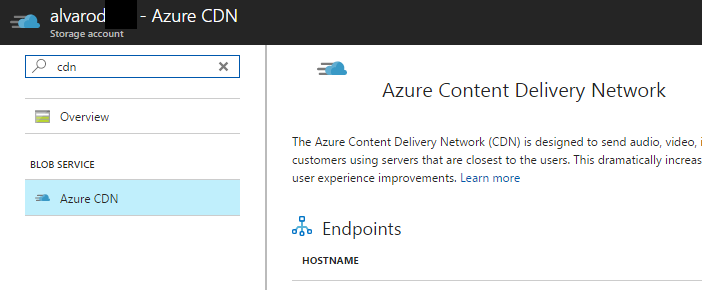
The Azure CDN is designed to send audio, video, images, and other files faster and more reliably to customers using servers that are closest to the users. This dramatically increases speed and availability, resulting in significant user experience improvements.
One elegant way to source these files is from blobs in a storage account. To simplify enabling this use case, we have now integrated adding and configuring CDN endpoints associated to a storage account.
Creating a new CDN endpoint
You can start by navigating to the storage account which contains the files that need to be served using a CDN.
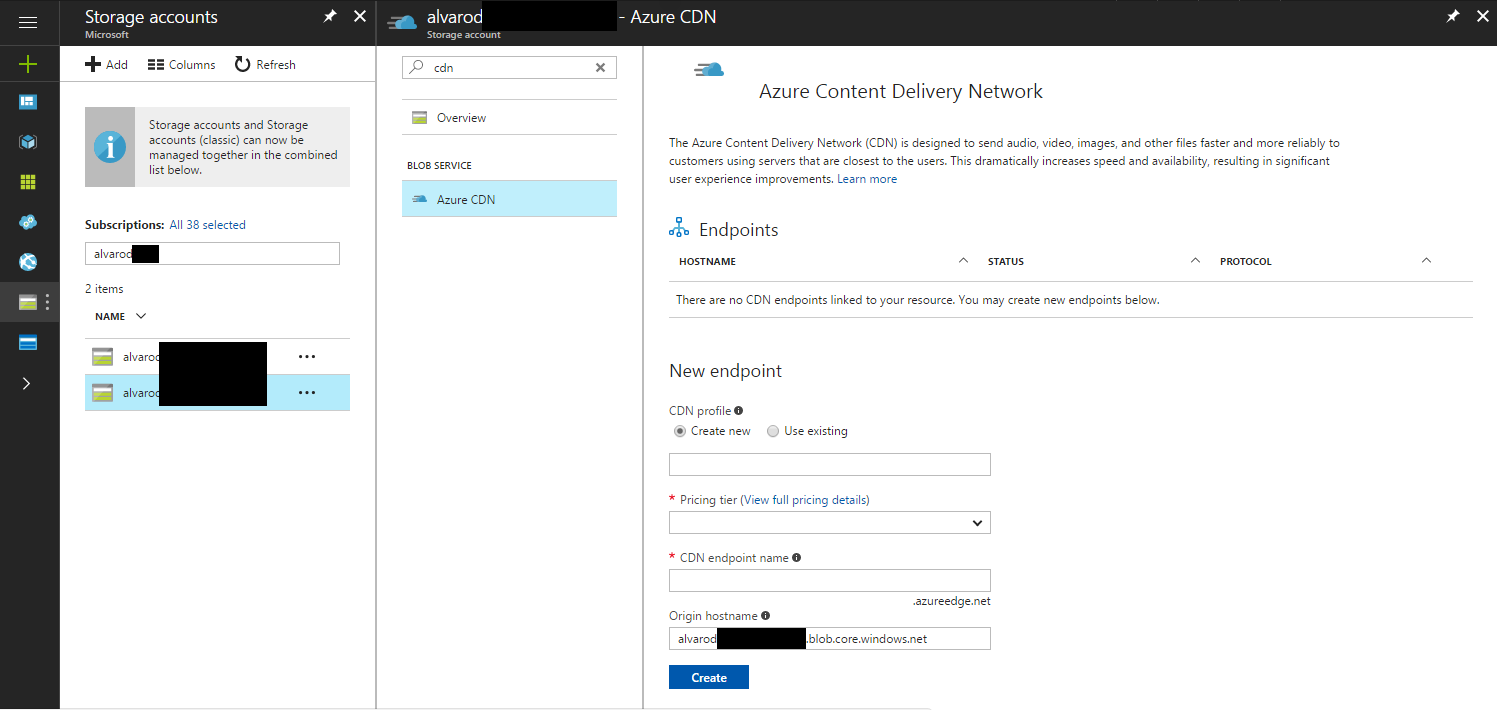
There's a few pricing tiers available to users. As of writing this post, customers can choose from to use Azure CDN from Verizon or Akamai. Also, Azure Premium CDN is available from Verizon that builds on the standard service with additional features including rules engine and advanced, real-time analytics.
You can read more about pricing here
Existing endpoints
Once the endpoints get created (you can create multiple), you should see the endpoint show up above the create form.
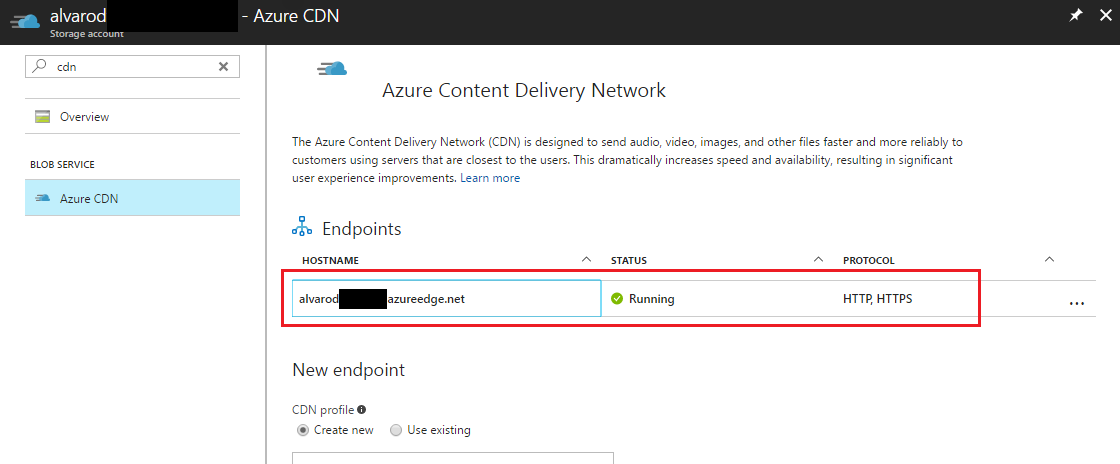
You can now use this endpoint to access CDN content using the following URL format.
http://<EndpointName>.azureedge.net/<myPublicContainer>/<BlobName>You can click on each of the created endpoints to modify, manage and monitor them. Among other things, from the endpoint blade, you can add custom domains, configure compression, caching and geo-filtering.
Further reading
- Integrate an Azure storage account with Azure CDN
- You can read more about Azure CDNs here: https://docs.microsoft.com/en-us/azure/cdn/
- Other posts on the Azure Portal: Posts tagged Azure Portal
