This post basically provides a step by step walkthrough to create a website in WebMatrix – provision the site to Windows Azure and once you’re ready – publish it.
Follow these 8 easy steps to get your WordPress blog up and running in Windows Azure.
Step 1
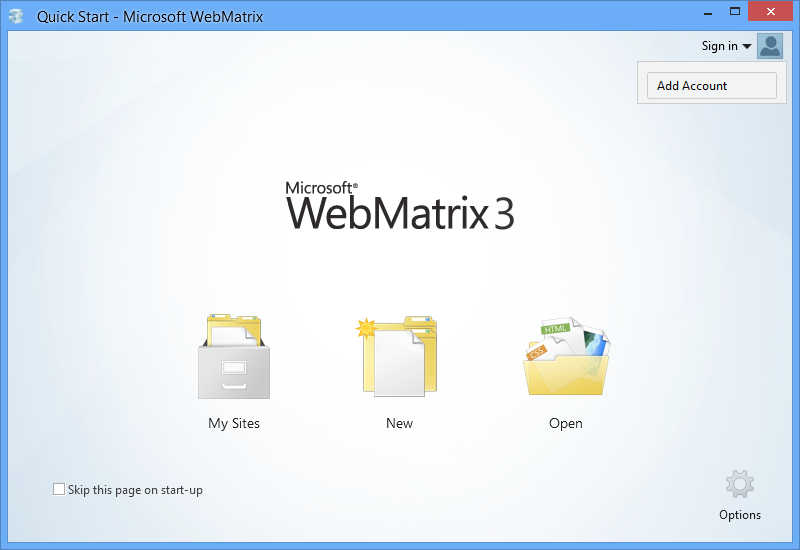
Open WebMatrix and sign-in to Windows Azure by clicking on the SignIn button in the top right corner and then on the Add Account button.
Step 2
In the Add Account dialog click on Sign In (recommended).
Step 3
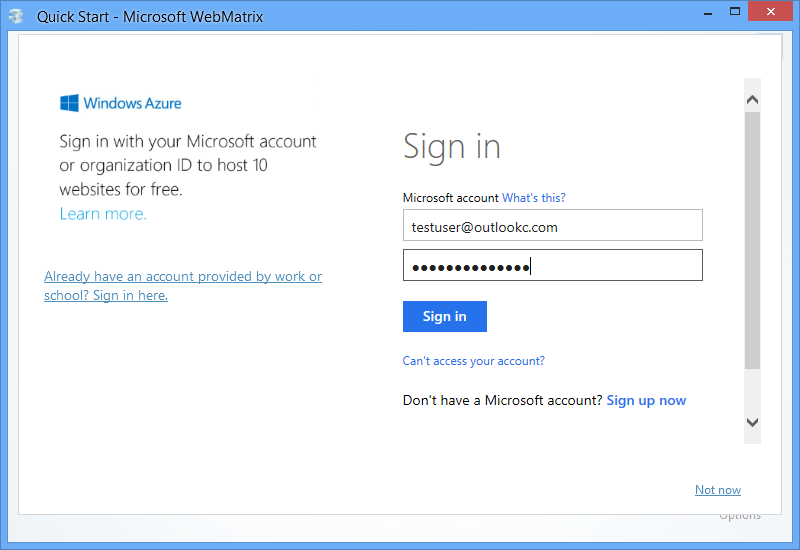
Then in the Sign-in dialog – enter your credentials and click on Sign In.
Step 4
Now, let us create the site that we want to publish. For the purpose of this walkthrough, I am creating a WordPress blog. To create this site, on the start page go to New –> App Gallery.
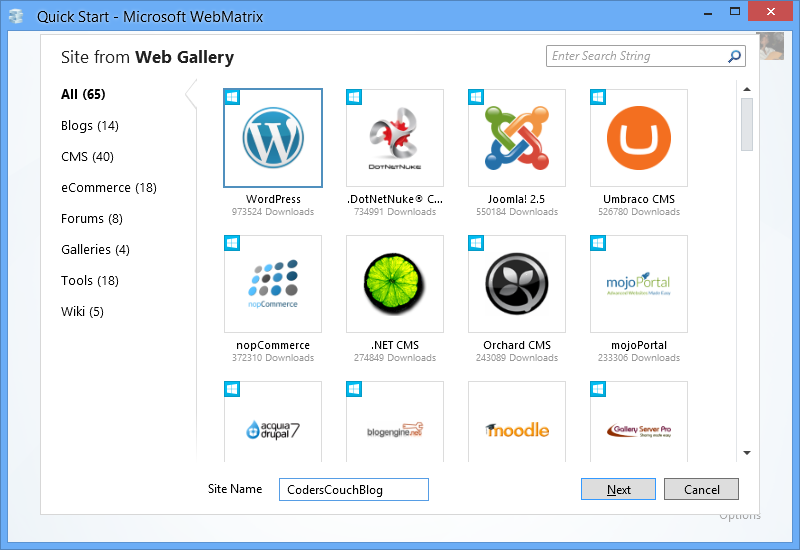
In the above dialog, select Bakery, specify the name of your website and click on Next to get the description of what the app is (in this case WordPress).
Click on Next again.
Step 5
You will be taken to the Windows Azure website provisioning page.
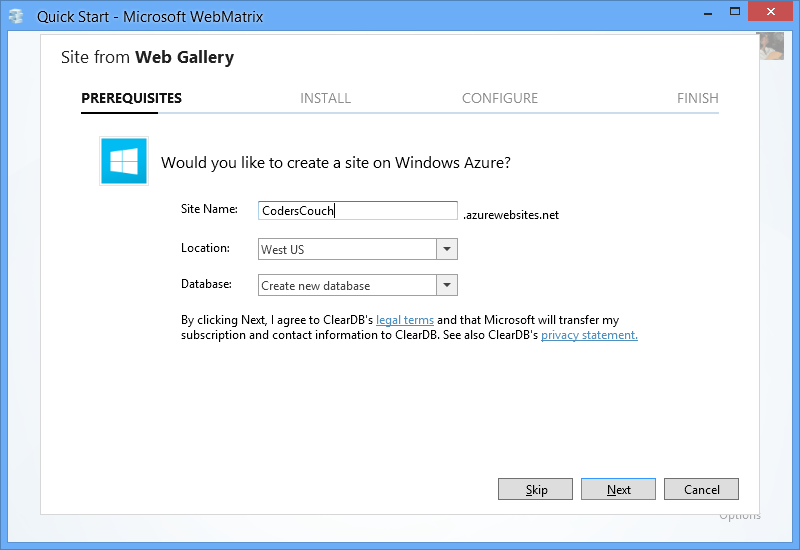
You will notice that the name of the site that you specified earlier, got auto-populated as the subdomain for your Windows Azure website. You can change that if you like or if that name has already been taken.
You can optionally change the datacenter location where your website will be created and whether you want to create a new database or use an existing one (in case you had created database[s] earlier) from the drop down.
Then click on Next.
Step 6
Accept the EULA for WordPress to create the WordPress website. Once you accept the license terms, WordPress will be downloaded and installed.
Once it completes, click on OK to open the website. The browser will be launched to complete WordPress installation. Follow the steps in the browser to do this.
Step 7
In the mean time, in WebMatrix you will see a notification at the bottom telling you the status of provisioning the website to Windows Azure.
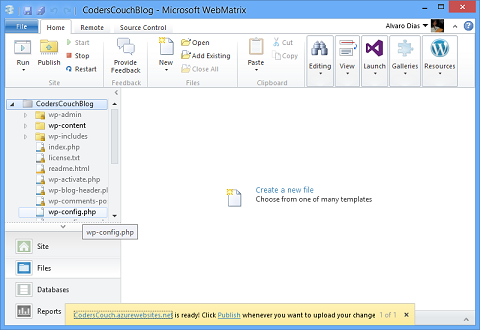
Once provisioning completes, you can click on the Publish link in the notification bar OR the Publish button in the top ribbon.
Step 8
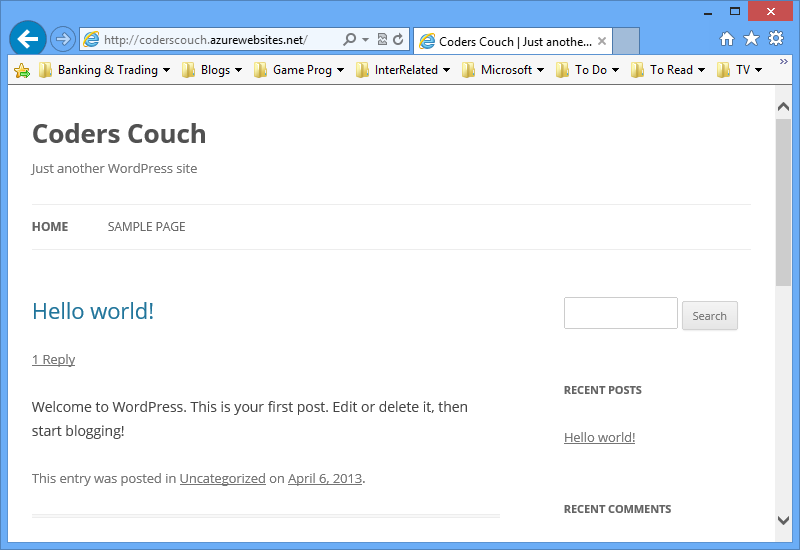
Follow the publishing steps to deploy the website to Windows Azure. Once publishing completes, you can click on the link below to open the website in a browser and see for yourself.
Happy Publishing!
